
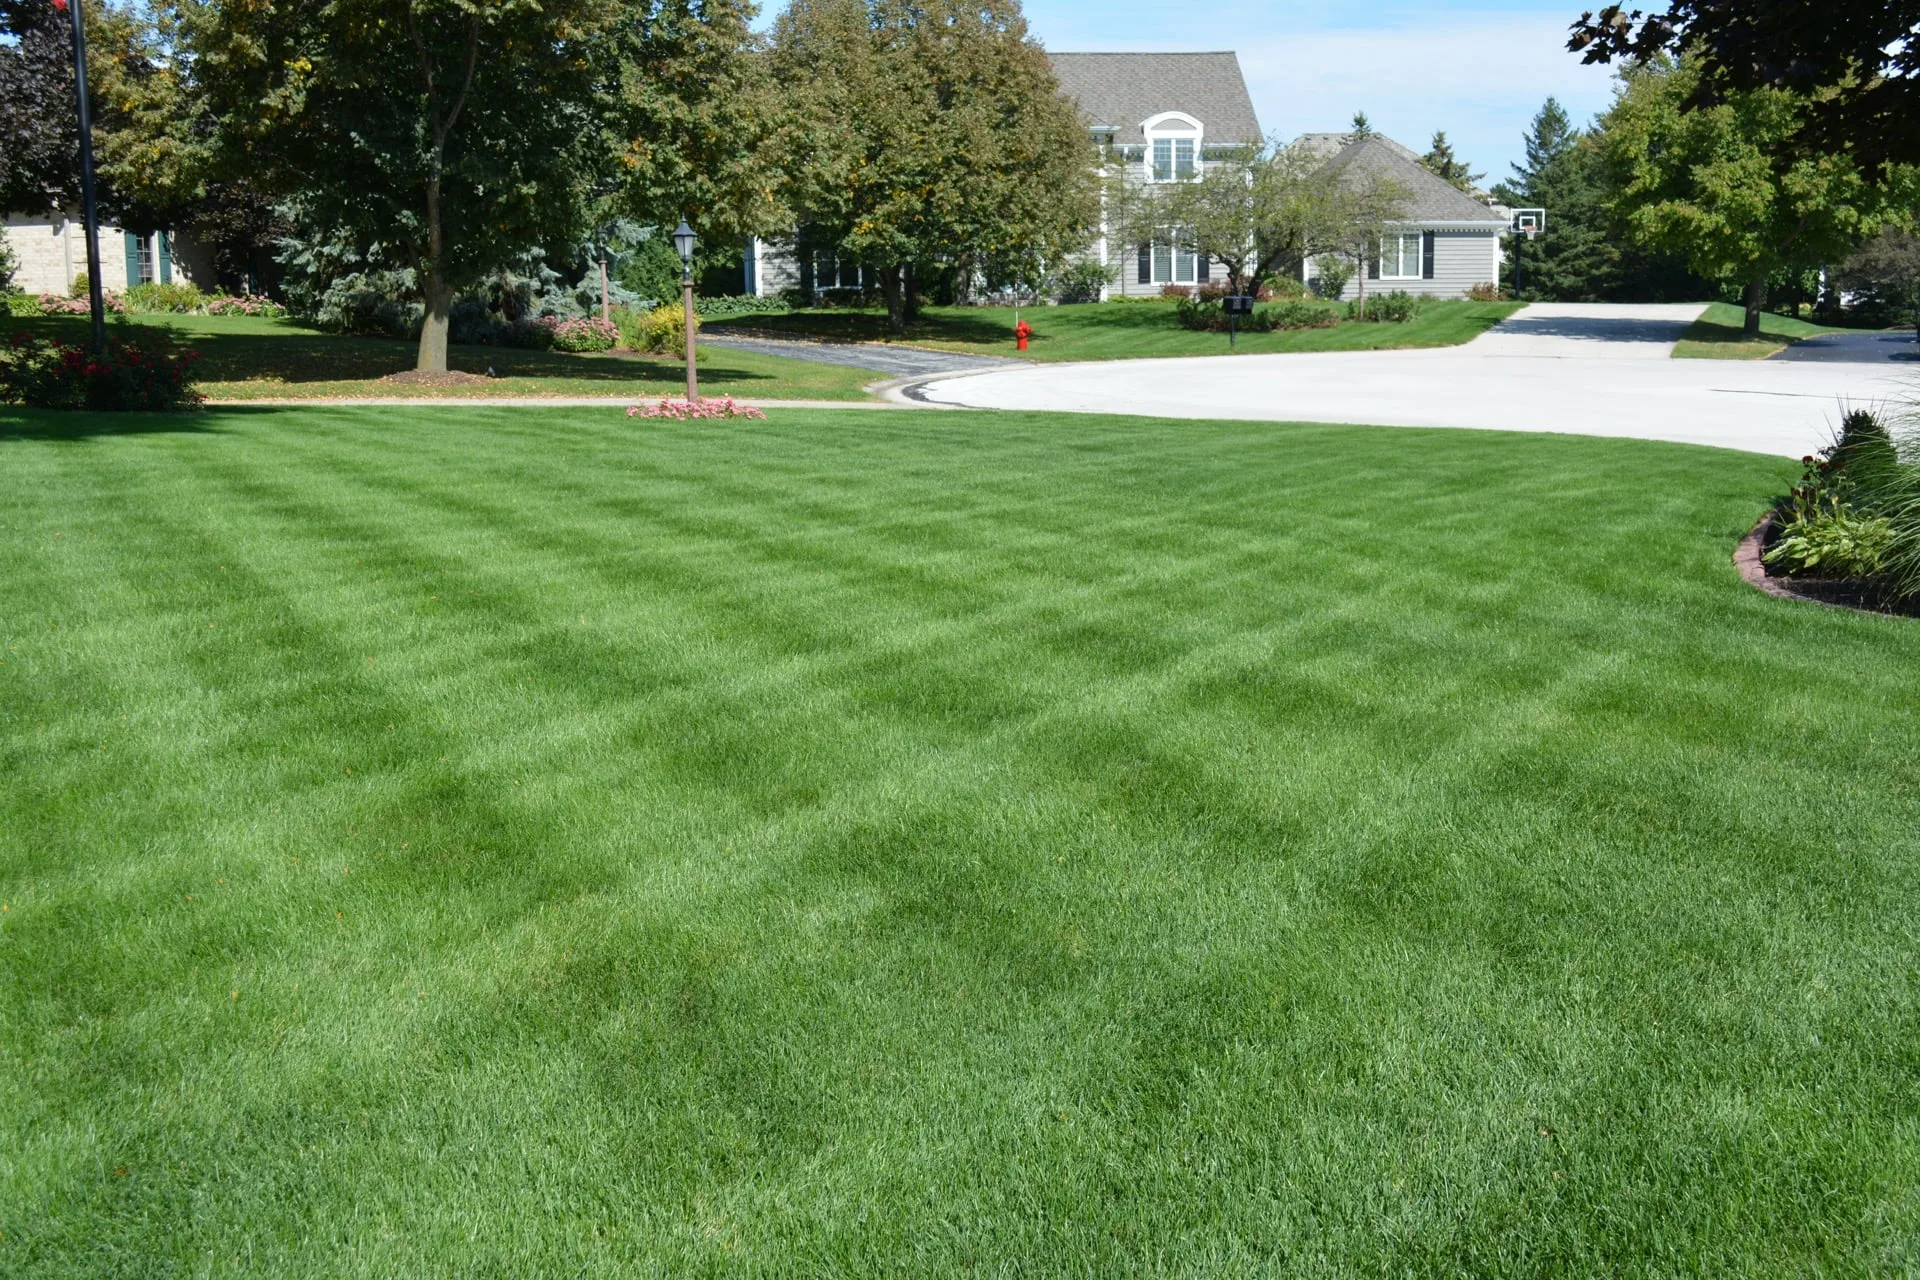
A good lawn fertilization schedule can be the difference between a lawn that wakes up strong in May and one that turns pale, thin, and fussy by Memorial Day. In northeast Ohio, spring can fake you out fast, sunny one afternoon in Akron, cold soil the next morning, so timing matters just as much as the fertilizer itself.
What you’ll need before you start
Before you put anything on your lawn, get the basics in place. A workable lawn fertilization schedule starts with the right product, the right tool, and a rough idea of what your yard actually needs. Guess-and-go usually ends with too much fertilizer in one area, not enough in another, and extra bags sitting in the garage.
Know your grass type and why it matters
Most lawns in northeast Ohio are cool-season lawns, usually Kentucky bluegrass, perennial ryegrass, or one of the fescues. Those grasses grow hardest in spring and fall, then slow down when summer heat shows up.
That growth pattern is the whole reason your feeding schedule should follow the seasons. If your lawn naturally does its best growing in cooler weather, your fertilizer plan should support that instead of trying to force summer-style growth in April.
Gather your tools and materials
Keep it simple. You only need what helps you do the job evenly and cleanly: a broadcast or drop spreader, gloves, a broom or leaf blower, a tape measure or measuring wheel, and a lawn fertilizer labeled for established turf.
A spreader matters more than people think. Hand-throwing fertilizer almost always creates patchy color, streaks, and burn spots.
Check local conditions before you apply
Look at soil temperature, recent rain, and the short-term forecast before you apply. Cool-season grass may look awake after a few warm days, but if the soil is still cold, the lawn is not really ready to use that fertilizer well. Ohio State turf guidance consistently points back to matching lawn care timing to actual growth, not just the calendar.
The trick is to wait for active growth, not your first nice Saturday.
Step 1: test your lawn and measure the area
Before buying a big bag of fertilizer, figure out what your lawn needs and how much lawn you actually have. This one step saves money and cuts down on mistakes.
Test your soil every few years
A soil test tells you your pH, which means how acidic or alkaline your soil is, along with nutrient levels like phosphorus and potassium. That matters because your lawn may not need everything in the bag. University extension soil testing guidance supports testing first instead of treating every lawn the same.
If your pH is off, fertilizer alone will not fix the bigger problem. A test every few years is enough for most home lawns.
Measure your lawn square footage
Break your yard into simple shapes like rectangles and circles, measure each section, then add them together. Length times width gets you rectangles. For circles, use radius × radius × 3.14.
This is the trick that keeps “one bag should be fine” from becoming a mess. Fertilizer bags tell you how many square feet they cover, and that number only helps if you know your square footage.
Notice your lawn’s current condition
Walk the yard before setting your lawn fertilization schedule. Look for pale color, thin spots, weed pressure, compacted areas near sidewalks, and bare patches from winter damage.
That quick walk tells you something useful: not every bad-looking lawn needs more food. Some need seed, aeration, pest control, or patience.
Step 2: choose the right fertilizer for spring growth
Spring fertilizer should support steady green-up, not a flashy burst that fades fast. For most established lawns in northeast Ohio, simple and slow works best.
Read the fertilizer label without overthinking it
The three numbers on the bag show nitrogen, phosphorus, and potassium. Nitrogen drives leaf growth and green color. Phosphorus supports root development. Potassium helps overall stress tolerance.
For established lawns, nitrogen is usually the main thing you are buying. University of Illinois lawn fertilizer guidance explains that phosphorus should not be applied blindly, especially when a soil test does not show a need.
Pick slow-release fertilizer for steadier results
Slow-release nitrogen feeds the lawn over time instead of dumping everything in at once. That means steadier growth, better color, and less of that “looks great for ten days, then looks tired again” cycle.
Here’s the direct truth: for better spring growth, slow-release beats a quick green flash every time.
Skip the wrong product for your lawn’s stage
Avoid starter fertilizer unless you are seeding. Skip high-phosphorus products unless your soil test calls for them. Be careful with weed-and-feed, too, because combo products often force two jobs into one rough pass.
It is usually better to fertilize properly and handle weeds as a separate step than to do both halfway well.
Step 3: set your northeast ohio lawn fertilization schedule
A good lawn fertilization schedule is not just a spring event. Spring matters, but for cool-season lawns, the whole year tells the real story.
Early spring: wait for active growth
Do not fertilize at the first warm spell in March. Wait until your lawn is actively growing and you have mowed at least once or twice.
The catch is simple: feeding too early pushes top growth before the lawn is ready. That can leave you with fast, weak growth instead of healthy turf.
Late spring: make your main spring application
In northeast Ohio, late April through May is often the better window for a meaningful spring feeding. By then, the lawn is actively growing, roots are working, and the weather usually supports steady uptake.
This is the sweet spot for stronger color and fuller growth without overpushing the lawn.
Summer: go light or pause during stress
Once summer heat and dry stretches set in, go easy. If your lawn is stressed, a heavy feeding is like serving a big meal to somebody trying to catch a breath.
If conditions are hot and dry, wait. If your lawn is irrigated and staying healthy, lighter summer feeding may be fine, but spring and fall still matter more.
Fall: plan the feedings that do the heavy lifting
Fall is the most important part of the schedule for cool-season grass. Early fall feeding helps recovery from summer stress, and late fall feeding supports root reserves going into winter. Minnesota extension lawn timing guidance and similar northern turf recommendations line up on this point.
If spring gets all your attention and fall gets ignored, your lawn usually shows it.
Step 4: prep your lawn before fertilizing
A few small prep steps make fertilizer work better and cut down on waste.
Mow first, but don’t scalp the lawn
Mow a day or two before applying fertilizer, and keep the grass at a healthy height. Do not cut it extra short thinking the fertilizer will reach the soil better.
Shorter is not better here. Scalping adds stress right before feeding.
Water if the soil is bone dry
If the soil is dusty and hard, a light watering before fertilizing can help. If the ground is soggy, wait.
You want moist, workable soil, not mud and not powder.
Clear leaves, sticks, and heavy debris
Take a few minutes to clear junk off the turf so fertilizer can reach the grass and soil instead of getting caught on debris. It is a lot like sweeping before painting a room. Small step, better result.
Step 5: apply fertilizer the right way
This is the part that determines whether your lawn greens up evenly or ends up striped.
Set your spreader based on the bag rate
Use the spreader setting recommended on the fertilizer bag. If your spreader model is listed, use that rate. If not, start conservatively and check the coverage.
Do not guess high. Too much fertilizer does not mean faster results. It usually means burn, surge growth, or waste.
Spread in a consistent pattern
Apply fertilizer in straight, slightly overlapping passes. One easy method is to go north-south across the yard, then lightly cross-check east-west only if the label rate allows for split applications.
Pick a route before you start so you do not lose track halfway through. Checkpoint: when you finish, the hopper should be close to empty at the same time the lawn is fully covered.
Keep fertilizer off driveways and sidewalks
Sweep or blow any granules off hard surfaces right away. That keeps fertilizer out of storm drains and prevents staining.
This is one of the easiest steps to skip, and one of the easiest to fix.
Water after application if the label says to
Some fertilizers should be watered in after application, especially products that need help moving into the soil. Others may not need immediate watering.
Follow the label. If rain is expected, light rain can help. A hard downpour is a different story.
Step 6: adjust the schedule for common lawn situations
Not every yard follows the same script. A lawn fertilization schedule should flex a little when your yard has a specific problem.
If your lawn was seeded recently
New grass often has different needs than established turf. If starter fertilizer was used at seeding, do not pile on more just because your regular spring date arrived.
Keep the new lawn on its own plan until it is established.
If your lawn has weeds along with thin grass
Thin grass and weeds often show up together, but that does not mean weed-and-feed is the best answer. In many cases, separate fertilizer and weed control timing works better.
That gives you cleaner control over both jobs.
If grub or insect damage is part of the problem
Patchy or thinning turf is not always a fertilizer issue. If parts of the lawn keep lagging even with regular care, insect damage may be part of the problem.
Fertilizer cannot fix roots that have been chewed up.
If your yard has sun and shade zones
Shaded areas usually grow more slowly and may need less fertilizer than full-sun sections. Treat those spots like different rooms in the same house. Same address, different behavior.
Troubleshooting common fertilization mistakes
Even a decent plan can go sideways. The good news is most problems are easy to read once you know what to look for.
The lawn grew fast but still looks weak
That usually means too much early nitrogen. You got blades, not strength.
Back off the heavy spring feeding and put more attention on fall applications.
You see stripes or patchy color
Stripes usually point to uneven spreader passes, poor overlap, or missed sections. Let the current application settle in, then correct the pattern on the next feeding rather than dumping extra product on dark and light bands.
Fertilizer burned the grass
Burn often looks brown, scorched, or dried out in lines or spots. Too much product, stressed turf, or fertilizer sitting on dry grass can all cause it.
Water the area deeply and do not apply more fertilizer. In many cases, the lawn can grow out of mild burn.
Rain showed up right after application
A light rain can be helpful if the label calls for watering in. A heavy downpour right after spreading can cause runoff and wasted product.
If the lawn still shows even color over the next week or two, the application probably did enough. Do not rush to reapply.
What results to expect and what to do next
Spring fertilizing should make your lawn look better, but not overnight and not like a neon carpet.
What better spring growth usually looks like
Healthy results usually show up as steadier green color, thicker growth, and better recovery after mowing. The lawn should look more even and feel a little fuller underfoot.
That is success. Not explosive growth, just stronger growth.
When to schedule your next feeding
After your late spring application, the next major fertilizer window is usually early fall, with another opportunity in late fall. For cool-season lawns, that is where the long-term payoff really happens.
Try one simple next step this week
Measure your lawn this week. That one number makes every other part of your lawn fertilization schedule easier, from choosing the right bag to setting the spreader without guessing.
- Disclaimer: This article is for general informational purposes only. It is not professional advice, a quote, or a service agreement. Conditions at your home or property may differ; contact a qualified professional for an on-site evaluation before making repair, safety, or spending decisions.